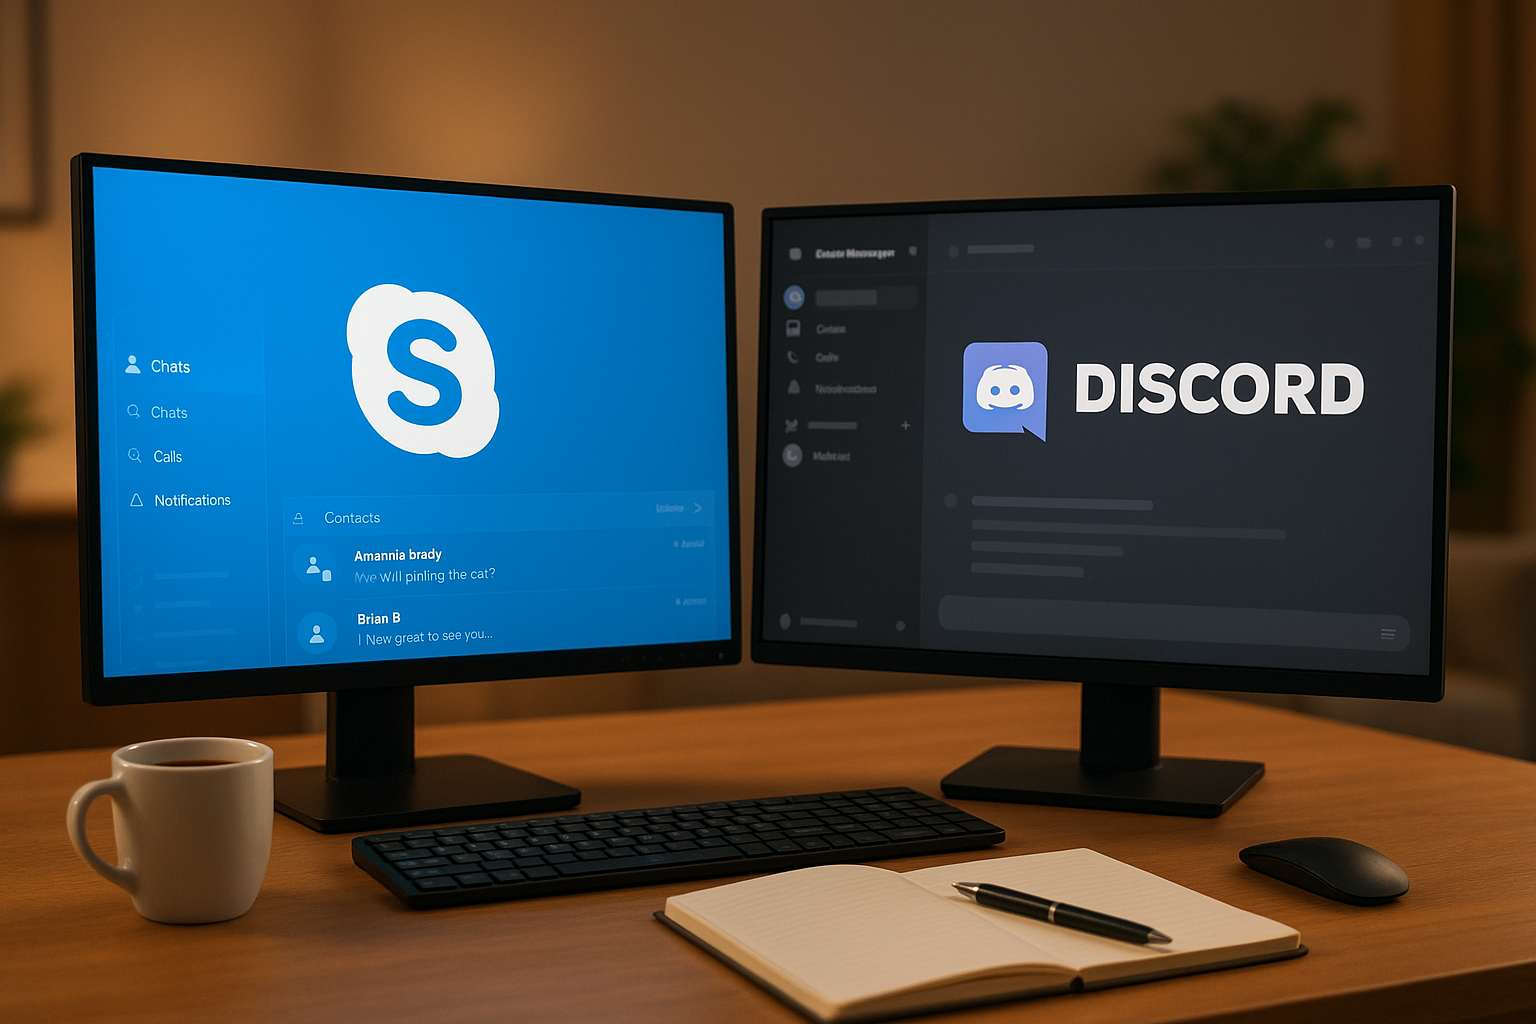
How to Switch from Skype to Discord: Complete Migration Guide 2025
Tired of Skype's limitations? Discord offers smoother performance, better customization, and advanced features for modern communication. Whether you're chatting with friends, hosting meetings, or managing communities, Discord is a powerful alternative to Skype. Here's why and how to make the switch:

- Performance: Discord uses less CPU (15%) and bandwidth (64 kbps for voice) compared to Skype's 30% CPU and 100 kbps.
- Custom Channels: Organize discussions into topic-specific channels and assign roles for better management.
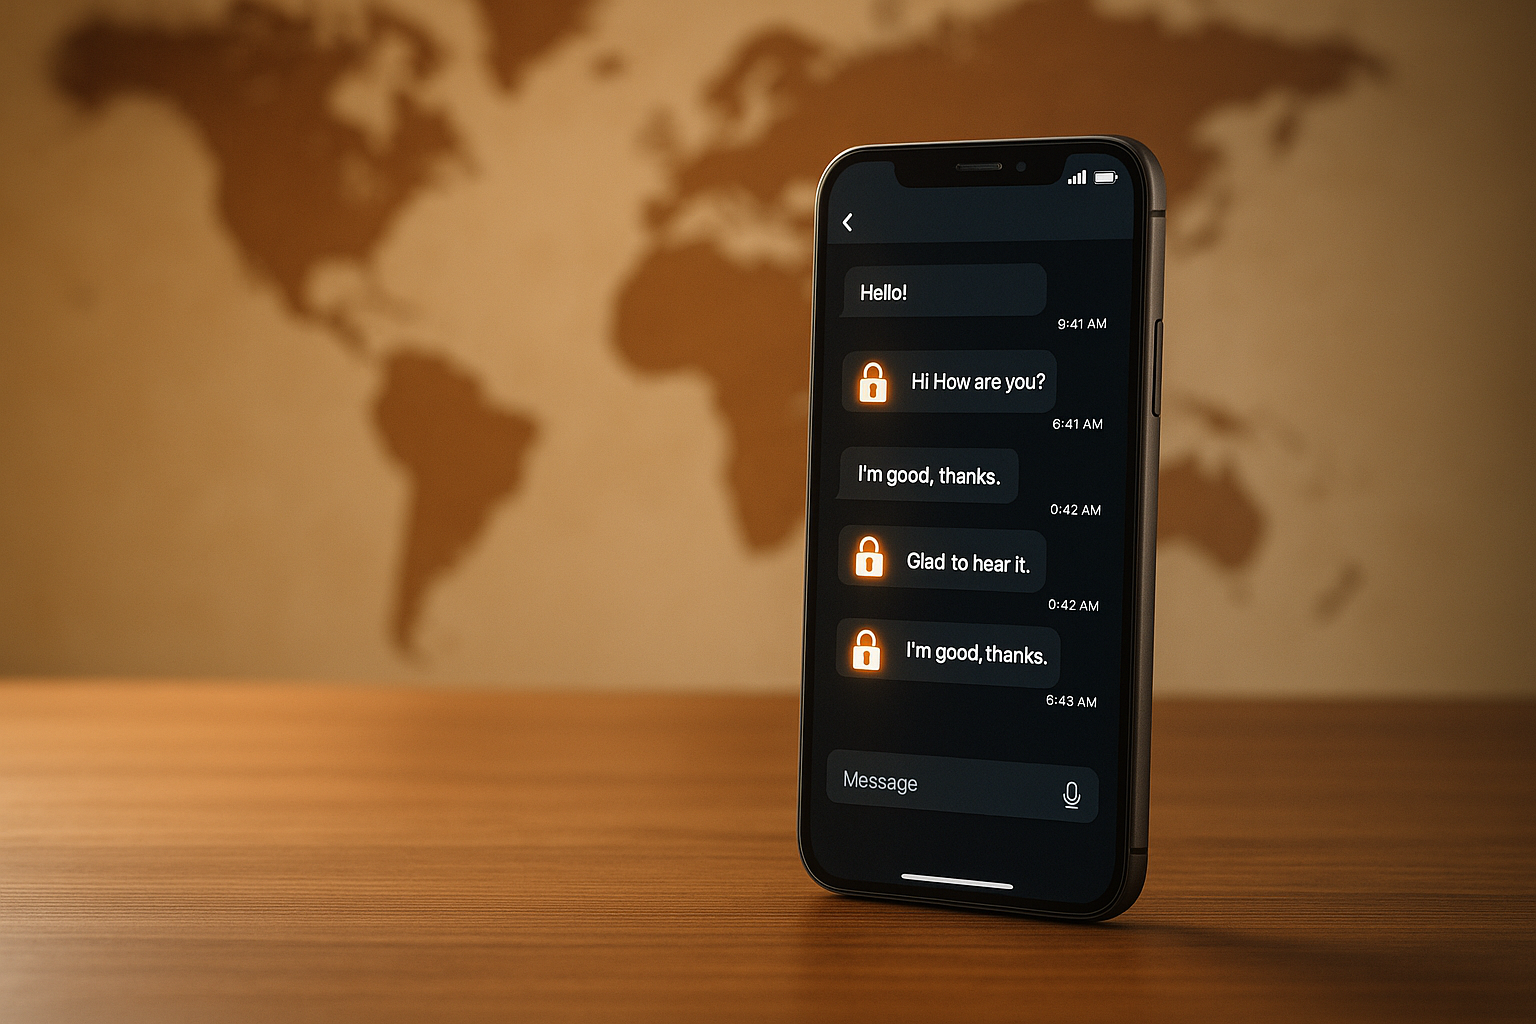
- Security: Enjoy built-in DDoS and IP protection, two-factor authentication, and private screen sharing.
- File Sharing: Skype allows 300MB uploads, while Discord's free tier limits files to 8MB (50MB for Nitro users).
- Call Features: Skype supports continuous audio and call recording, while Discord excels in bandwidth efficiency and noise reduction.
Quick Comparison
| Feature | Skype | Discord |
|---|---|---|
| CPU Usage | ~30% | ~15% |
| Voice Bandwidth | 100 kbps | 64 kbps |
| File Sharing Limit | 300MB | 8MB (Free) / 50MB (Nitro) |
| Group Chat Limit | 150 members | Unlimited (server-based) |
| Call Recording | Built-in | Not native (use bots) |
| Customization | Minimal | Extensive (roles, bots) |
Steps to Switch:
- Export Skype Contacts: Save your Skype contacts as a CSV file for reference.
- Save Chat History: Use Skype's export tool to download your messages and files.
- Create a Discord Account: Register on Discord and verify your email.
- Set Up a Discord Server: Create channels, assign roles, and customize permissions.
- Invite Contacts: Share invite links with your Skype connections.
Switching to Discord is straightforward and unlocks better communication tools. Start today and experience the difference.
Key Differences Between Skype and Discord
Knowing the main differences between Skype and Discord can help you transition smoothly and set realistic expectations. While both platforms support voice calls and messaging, they take very different approaches to these tasks. These differences highlight why many users consider switching to Discord.
Communication Features Comparison
One of the biggest distinctions lies in how they handle group communication. Both platforms can host up to 25 participants in a single call.
Skype streams audio continuously at around 100 kbps and even allows calls to regular phone numbers - something Discord does not offer. On the other hand, Discord uses voice activity detection, sending audio only when someone speaks, which keeps bandwidth usage lower, around 64 kbps, and helps reduce background noise. Skype also includes built-in call recording for both video and audio, while Discord does not have a native recording feature. However, Discord stands out with its flexible screen-sharing settings, which many users find convenient.
When it comes to chatting, Skype supports group chats of up to 150 members, complete with picture sharing and "@" mentions to grab someone's attention. Discord, however, organizes discussions into topic-specific channels within servers, offering a more structured approach to group conversations.
Next, let's look at how each platform handles file sharing.
File Sharing and Storage Limits
Both Skype and Discord allow users to share files, but the limits are quite different. Skype permits file uploads up to 300MB and integrates with OneDrive for sharing larger files. It also keeps shared files accessible for 30 days.
Discord, in contrast, has stricter limits. Free users can upload files up to 8MB, while Nitro subscribers get a higher limit of 50MB. For anything larger, users typically rely on external storage services.
| Platform | Free Tier Limit | Premium Limit |
|---|---|---|
| Skype | 300MB | 300MB |
| Discord | 8MB | 50MB (Nitro) |
Server-Based vs. Contact-Based Setup
The way Skype and Discord structure interactions is another key difference that influences how users manage their communications.
Skype is built around a contact-based model, ideal for one-on-one or small group chats. This setup is straightforward for personal use but can feel cumbersome when managing larger groups.
Discord, on the other hand, uses a server-based model. Servers are designed to host organized, topic-driven conversations, with each server containing multiple channels for different discussions. This structure keeps conversations focused and easy to follow. Additionally, Discord's persistent text channels allow users to revisit past messages, even after months of inactivity, whereas Skype's chat threads can become harder to navigate over time.
Discord also offers detailed management tools, like roles and permissions, which let server administrators control access and participation. Skype lacks this level of customization.
Getting Ready for the Switch
Before transitioning to Discord, make sure you safeguard your Skype data and contacts. This includes exporting your contact list, saving your chat history, and setting up your Discord account.
Export Your Skype Contacts
To keep track of your Skype connections, export your contact list as a CSV file. Here's how:
- Sign in to Skype and go to "My Account."
- Navigate to "Settings and preferences."
- Click "Export contacts (.csv)."
This will generate a file listing all your Skype contacts, including usernames and display names. While Discord doesn't allow direct import of these contacts, the CSV file serves as a handy reference for reconnecting with people on your new platform.
Save Your Chat History and Files
Your Skype conversations likely hold valuable information, shared files, and cherished memories. To avoid losing these, you'll need to export your message history and media files. Keep in mind that Skype only stores chat history in the cloud for two years, so act quickly to save what's important.
The export includes messages, media files, call recordings, and even scheduled calls or polls. However, deleted items won't be part of the export. Here's how to get started:
- Sign in to the Skype Export page with your Microsoft account.
- Choose whether to download conversations, files, or both.
- Submit your request and check back periodically for updates.
When your export is ready, you'll receive a .tar file. To extract it:
- On Windows, open Command Prompt, navigate to the file's folder, and run:
tar -xvf YOURFILENAME_export.tar. - On macOS, simply double-click the file to extract it.
Once extracted, you'll find a messages.json file containing your chat history. For easier browsing, Skype recommends using their file viewer tool.
Create Your Discord Account
The final step before starting your journey on Discord is setting up your account. The process is straightforward and works seamlessly on both desktop and mobile devices.
For desktop or browser users:
- Visit the Discord website and click "Register."
- Enter an email address, choose a username, create a password, and input your date of birth.
- Complete the CAPTCHA verification and check your email for a verification link.
For mobile users:
- Download the Discord app.
- Tap "Register" and provide either a phone number or email address.
- Follow the prompts to complete your registration and verify your account.
Once your account is created, verify your email immediately to secure your username and enhance account safety. For added protection, consider linking a phone number to your account.
After verification, personalize your profile by uploading a profile picture and setting your status. These small details make it easier for friends to recognize you when you start connecting on Discord. With your contacts, chat history, and Discord account ready, you're all set to configure your new Discord server and make the switch as smooth as possible.
Moving to Discord: Step-by-Step Guide
Now that you've got your data ready and a Discord account set up, it's time to create your new communication hub. Here's how to get started.
Create and Set Up Your Discord Server
Setting up a Discord server is quick and straightforward. You can do it via the Discord desktop app, mobile app, or even in your web browser. Begin by clicking the "+" icon on the left sidebar. You'll then have the option to either create a server from scratch or use one of Discord's pre-built templates to simplify the process.
Pick a name for your server that clearly reflects its purpose - whether it's for family, work, or friends - and upload a server icon to make it easily identifiable. Discord organizes conversations into channels focused on specific topics. Set up text channels (like "general-chat" or "announcements") and voice channels for audio discussions. To keep things tidy as your server grows, you can group related channels into categories by right-clicking in the channel area and selecting "Create Category." Additionally, assign user roles and permissions (e.g., Admin, Moderator, Member) to control access to different parts of your server.
Add Contacts and Send Invites
Unlike Skype, Discord doesn't support direct contact imports, so you'll need to invite people manually. Generate an invite link by clicking the "Instant Invite" icon next to a channel name or hovering over a channel and selecting "Create Invite." From there, you can customize the invite by clicking "Edit invite link" to set an expiration date, limit the number of uses, or create temporary memberships that expire after a set period. Keep in mind that each channel has its own unique invite link, and the channel you choose will be the first one users see when they join.
Share these invite links with your former Skype contacts via email, text message, or other platforms. Use the CSV file you exported from Skype to ensure you don't miss anyone. If someone is already on Discord, you can invite them directly by right-clicking their username and selecting "Invite to Server". You can also manage and delete invite links anytime through your Server Settings under the "Invites" section. Once your invites are sent, you can move on to fine-tuning your communication settings.
Configure Voice and Video Features
Discord offers excellent voice and video tools, but setting them up correctly is key to getting the best experience. Open your settings by clicking the gear icon next to your username and go to "Voice & Video." To avoid issues, manually select your input and output devices instead of relying on default settings. Test your microphone by using the "Let's Check" button to make sure everything's working.
For voice communication, automatic voice detection is usually fine, but push-to-talk can help reduce background noise during busy times. Turn on noise suppression to filter out unwanted sounds and echoes, and consider enabling features like echo cancellation, noise reduction, and automatic gain control for even clearer audio.
If you're using video, activate Open H.264 for smoother streaming. If you run into video issues, try turning off H.264 Hardware Acceleration or the AV1 video codec in the settings. You can also tweak the audio subsystem to see which option works best with your hardware. And if connection problems persist, disabling "Quality of Service High Packet Priority" might help.
Before fully transitioning to Discord, test your setup with a friend. If you're still running into issues, use the debug log option for detailed troubleshooting.
Improve Your Discord Setup
Once you've got the basics down, it's time to tap into Discord's full potential. By exploring its advanced features, you can create a more organized, professional, and enjoyable communication experience - far beyond what Skype ever offered.
Set Up Server Roles and Permissions
Discord's role system gives you detailed control over what each user can and cannot do. Think of it as building a framework for your community, whether it's for family, colleagues, or friends. Start with the @everyone role, which serves as the default baseline with limited permissions. From there, create custom roles tailored to your server's needs.
A crucial aspect to remember is role hierarchy. Users with the "Manage Roles" permission can only adjust roles that are lower in the hierarchy than their own. This hierarchy also determines which permissions they can assign. Be especially cautious with the Administrator permission - it grants unrestricted access and bypasses all channel restrictions.
To double-check your setup, use Discord's "View Server As Role" feature. You can find this under Server Settings > Roles. Click the "More" button next to a role and select "View server as role." This lets you see exactly what a user with that role can access. For example, if you've set up a private channel for specific members, you can ensure the default "Users" role is blocked by editing that channel's permissions.
Once your roles and permissions are fine-tuned, shift your focus to improving call and audio settings for a smoother experience.
Improve Call and Audio Quality
Discord's audio features can outshine Skype's, but only if you configure them properly. Start by adjusting the voice channel bitrate - higher bitrates improve audio quality but require more bandwidth. If your server has been boosted, you can unlock even better audio levels.
Enable features like echo cancellation, noise reduction, and automatic gain control to enhance clarity. Then, manually select your preferred microphone and speakers in the settings. Use the "Let's Check" button to test your input and output devices. During calls, you can also adjust individual user volumes by right-clicking their profile and moving the volume slider.
If you run into connection problems, try disabling the "Quality of Service High Packet Priority" option in the voice settings. You can also experiment with different audio subsystems to see what works best. For video calls, enabling the Open H.264 codec can smooth out streaming. If issues persist, consider turning off H.264 Hardware Acceleration.
With roles and audio optimized, you can take things even further by integrating bots for added functionality.
Use Bots and Extra Tools
Discord bots are like your server's personal assistants - they automate tasks and add features Skype could never provide. Trusted bots can handle moderation, track engagement, schedule events, and even play music in the background. Start small with one or two bots, and as your server grows, gradually add more. Just make sure to regularly review their permissions to keep everything secure.
For added fun, consider entertainment bots that bring games and interactive activities to your server. Practical tools like event schedulers or giveaway managers can also boost engagement. And if you're looking to set the mood, music bots can play background tunes during voice chats.
Always ensure any bot you add comes from a trusted source. Periodically checking their permissions will help maintain your server's security and keep things running smoothly.
Common Problems and How to Fix Them
Switching platforms isn't always seamless, and a few hiccups might pop up along the way. Here's how to tackle some of the most frequent issues you might encounter.
Contact and Account Sync Problems
Discord's contact syncing relies on both you and your friends enabling the Find Your Friends feature. To get started, head to User Settings > Privacy & Safety, verify your phone number, and turn on Allow contacts to add me. Then, go to the Friends tab to sync your contacts. If your friends still don't show up, try logging out and back in again. This simple step often resolves syncing glitches.
File and Chat Transfer Issues
With Microsoft officially discontinuing Skype as of May 5, 2025, it's crucial to export your chat history and files before they become inaccessible. Use Microsoft's export tool to download a .tar file containing your messages and media. Keep in mind, this export is for personal records only - Discord doesn't currently support importing Skype chat history directly. For detailed steps, refer to the export guide mentioned earlier.
Call and Connection Problems
Call and connection errors can be frustrating, especially during a transition. Messages like "RTC Connecting", "No Route", or "ICE Checking" often point to local network issues, while "Awaiting Endpoint" could indicate a problem on Discord's end.
Here are some troubleshooting tips:
- Restart your modem, router, and computer.
- Update your operating system and the Discord app.
- Double-check your device connections and firewall or VPN settings.
- Ensure the correct input/output devices are selected in Discord's Voice & Video settings.
For additional fixes:
- Disable Quality of Service High Packet Priority in Discord settings.
- Switch the Audio Subsystem between Standard and Legacy modes.
- Update your graphics drivers or toggle H.264 Hardware Acceleration for video issues.
If you're using Discord on a mobile device, clear the app cache on Android or reinstall it on iOS. Turning off battery saver mode and switching between Wi-Fi and mobile data can also help. Persistent issues? Try Discord's Public Test Build or Canary client for more advanced troubleshooting options.
Conclusion: Getting Started with Discord
Switching from Skype to Discord opens the door to modern communication tools that enhance how you connect with friends, family, and communities. With its better voice quality, organized server-based chats, and extensive customization options, Discord offers a more dynamic and enjoyable experience. And the step-by-step guide shared earlier ensures the transition is smooth and hassle-free.
Getting started is simple. Create your Discord account and use the platform's contact syncing feature to reconnect with your network effortlessly.
Once you're set up, you'll notice the difference right away. Discord uses just 64 kbps for voice calls, compared to Skype's 100 kbps requirement, delivering clearer audio with less strain on your internet connection. Dedicated user Tanya Dwyer shares her experience:
"Discord however, has been smooth sailing from the get go. You can talk for hours if you want, and it doesn't care. It just works."
But Discord isn't just about calls. Dive into its servers to discover communities that match your interests, experiment with bots to automate tasks, and customize server roles and permissions for better organization. Features like forum channels, threads, and stage channels add a whole new level of structure and interaction that traditional calling apps simply don't offer.
One of Discord's standout qualities is its regular updates driven by user feedback, all while remaining completely ad-free. Its high ratings - 9.5/10 for reliability and 9.8/10 for speed - highlight its dedication to delivering a top-notch experience.
The learning curve is gentle, and any minor issues like syncing contacts or adjusting call settings can be quickly addressed with the troubleshooting tips we've discussed. Ready to upgrade your communication game? Start exploring Discord today and see the difference for yourself.
FAQs
What makes Discord a better choice than Skype for communication?
Discord stands out as a top choice for communication thanks to its unique features designed for community interaction. While Skype focuses more on one-on-one or small group conversations, Discord takes a broader approach by enabling users to create servers. These servers can be organized into multiple channels, each dedicated to specific topics, making it much easier to keep discussions well-structured and manageable.
One of Discord's perks is that it's completely ad-free. Plus, it doesn't clutter your device with saved files unless you give permission, keeping your hard drive free from unnecessary junk. On top of that, Discord offers a range of customization features like bots, emotes, and integrations. These tools not only enhance functionality but also make the platform more engaging - something Skype simply doesn't offer. Whether you're chatting casually or coordinating with a professional team, Discord's flexibility makes it a standout choice.
How can I move my contacts and save my chat history when switching from Skype to Discord?
To move your contacts from Skype to Discord, you'll first need to export your Skype contacts as a CSV file. Log into Skype, navigate to the settings, and select the option to export your contacts. Once the file is ready, you'll have to manually add those contacts to Discord, as there isn't a built-in feature to import them directly.
When it comes to chat history, Skype offers a data export tool that lets you download your conversations and files. Save this data to your device for future access, as Discord doesn't allow chat histories to be imported. While your old messages won't carry over to Discord, you'll still have them saved locally if you ever need to revisit them.
How can I set up voice and video features on Discord for the best experience?
To configure voice and video features on Discord, start by clicking the gear icon in the bottom-left corner to access User Settings. Navigate to the Voice & Video section, where you can choose and test your microphone and speakers to ensure everything is functioning correctly. You'll also find the option to adjust the input mode: select Voice Activity for automatic detection or Push to Talk for manual control. If you go with Push to Talk, make sure to assign a keybind that's easy to use.
For video settings, pick your preferred camera and tweak the video quality if necessary. It's always smart to test your setup ahead of time to avoid any hiccups during calls. With these adjustments, you'll be all set for smooth voice and video chats on Discord!